In our website the nine protocol steps of the NGSgo Workflow can be found here. These videos visualize how to execute the workflow steps and can be used as an addition to the available Instructions for Use. Please note that these videos are not a replacement for the Instructions for Use.
Our dedicated technicians using the workflow are happy to share some tips & tricks to optimize the results of your workflow.
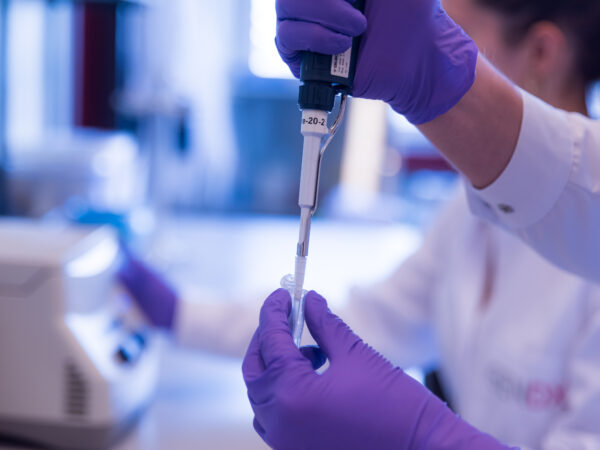
Tips & tricks to optimize your NGSgo® Workflow
Tip 1: Work in a dedicated DNA workplace
PCR amplification is a sensitive technique, therefore you need to adopt clean working practices to avoid sample contamination. In order to prevent contamination, we advise to separate the DNA from the amplification reagents in the pre-amplification lab. Move to a designated DNA workplace and wear a dedicated DNA lab coat when you are going to dispense your DNA into the plate. Additionally, it is strongly recommended to perform pre-amplification and post-amplification procedures in separate rooms. In this way, the chance of contamination is minimized.
Tip 2: Standardization of DNA input
By standardizing the DNA input volume before amplification, you ensure the consistency of the amplification outcome. For singleplex amplification this makes the amplicon pooling very easy and consistent. For the multiplex amplifications MX6-1 and MX11-3 this will also yield consistent sequencing results with similar read depths per sample.
Tip 3: Use 8-well strips
During the NGS workflow, when using a large sample set (>24), it saves time to first aliquot the ligase and/or HiFi mastermix in an 8-well strip. This way it is faster to distribute the mix in the plate using a multichannel pipet.
Tip 4: Beads at room temperature
At the start of the NGS workflow, don’t forget to take the beads that are needed in the next step (DNA cleanup) out of the refrigerator. The beads work optimally at room temperature.
Tip 5: Use a multichannel with a reagent reservoir
If you want to save time during the first bead cleanup, make use of a reagent reservoir in combination with a multichannel pipet. This works well for pipetting the beads, elution buffer and 80% ethanol. By using the multichannel pipet you can fill eight tips at once which makes pipetting easy and fast. Any remaining beads or elution buffer can be re-used.
Tip 6: Re-use the IndX plate
The IndX plate consists of 96 unique index combinations. A big advantage of this plate is that unused indices can be used at a later time. You can simply store the plate in the freezer and re-use it. This means you can easily run a small amount of samples and save the leftover indices for later.
Tip 7: Use Qubit quantification in the Illumina workflow
After your library preparation is finished the quantification of your library can be simply done by using the fluorescence based Qubit. Using the Qubit will save a significant amount of time. Simply use the correction factor, 1.9, to calculate the final concentration in nM (nanomolars) and you are ready for sequencing.
Tip 8: Tips for using Qubit
The Qubit is an easy and fast fluorescence based quantification method. It is advised to use gloves when handling the Qubit tubes to prevent a dirty tube from influencing the measurement results. An extra tip is to put a glove over the vortex; in this way the Qubit tubes will not be smudged by the vortex rubber.
Tip 9: Use the flow cell calculation sheet
In order to most efficiently use the sequencer flow cell, GenDx has developed a flow cell calculation sheet. This excel tool will calculate the maximum amount of samples that can be loaded, no matter the loci configuration. The calculation is based on an minimum read depth of 500 reads.
After these 9 valuable tips & tricks, you are probably motivated to move to the lab and perform the NGSgo workflow! Use the Instruction for Use for the correct execution of the NGSgo Workflow and check out the Instructional videos here for a visualization of the steps.